
Throughout the game development process, you will need to work with assets that have been generated outside of Unreal. It stands to reason that if you are using Unreal Engine for your game that you would likely want to utilize it’s flagship 3D rendering capabilities. As such, working with a 3D Content Creation suite like Blender will form an integral part of realizing your game.
However, the transferal of digital assets from Blender to Unreal might not be as straight forward as you had hoped. In fact, the reality is that this need not be the case any longer. In the past year or so leaps and bounds have been made in getting these two software environments to communicate almost seamlessly with each other.
And FBX for all…

Although the FBX file format alludes towards digital justice, if you have been using the file format since about the mid-20-teens you’ll be well aware of its idiosyncrasies which prompted the advent of wide-ranging support for other file formats within Blender with regards to the interchanging of digital assets. As such, you might have experimented with Collada (.dae), 3D Studio (.3DS), Wavefront Object (.obj) to name a few newer and older options but of course, all of these interchange formats have their pros and cons. Where you might win with one feature, another feature could be compromised in that particular file format. The result of this being that there would typically always be some degree of editing required within the target environment in order to get the asset to match the source.
That’s not to say that the FBX format is a one-stop solution for all of these issues, however, we can be assured with more certainty that in interchanging data between Blender and Unreal that our outcomes are more predictable. A considerable amount of work has been dedicated to getting the FBX file format to work from Blender. A commendable effort, particularly given that the file format is owned by Autodesk and their documentation on the subject has, in some instances, been somewhat scarce.
FBX is Epic Game’s officially recommended format for interchanging 3D digital assets, as such you will find many resources online with regards to exporting FBX from Blender then importing it into Unreal.
In this post, we are going to utilize a Blender Add-on that is currently in development at Epic Games that automates the export/import process required for the interchange of 3D digital assets between Blender and Unreal.
Welcome Send To Unreal
The name of the Add-on is Send To Unreal and you can access its GitHub repository at the following address, https://github.com/epicgames/blendertools
As previously mentioned you will need to first link your GitHub account to the Epic Games GitHub account. If you are unfamiliar with this process you can read more about it in a previous post.
Without making this connection between accounts you will not be able to access the GitHub repository for the Add-on.
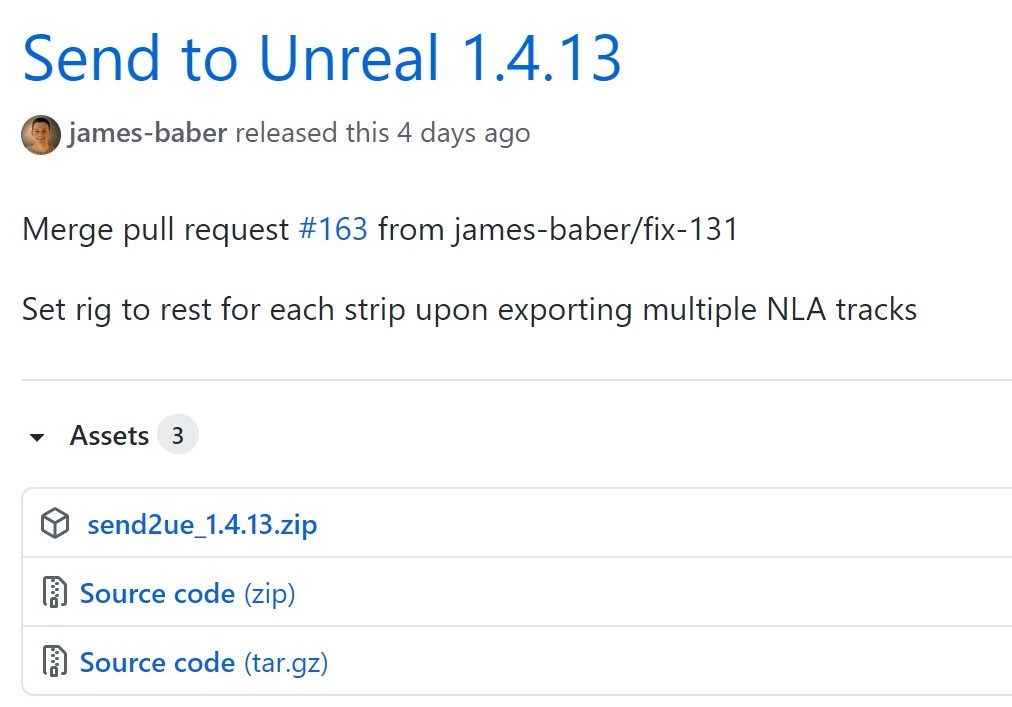
Alternatively, if you just want to test the addon you can download version 1.4.13 here
As noted though, this version will likely become outdated quickly as the Add-on is heavily under active development and you will benefit a great deal more from using the latest version of the addon. Therefore it’s recommended that you follow the steps for linking your GitHub account to the Epic Games developers GitHub community before continuing.
Installing the Add-on
You will need Blender version 2.83 in order to install the Add-on. Although it will work with older versions, Blender 2.83 LTS is the version that the Add-on targets.
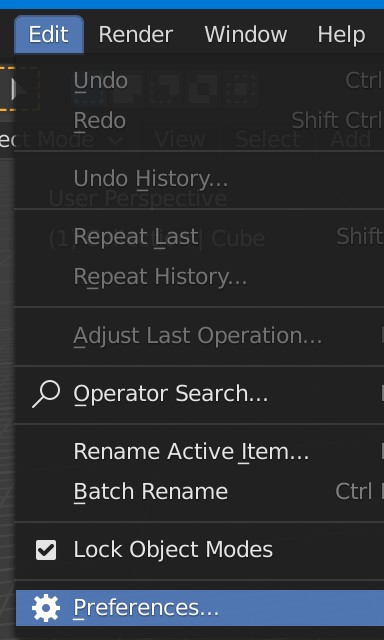
From Blender’s main menu click Edit > Preferences, then click on the Add-on button. There are various ways of installing Add-ons in Blender, this is, however, probably the simplest.
Click the Install Add-on button and find the zip file you downloaded to complete installing the Add-on.
Blender Add-ons are typically a collection of Python scripts, that extend Blender’s functionality. They might also sometimes be referred to as plugins (unofficially).

Configuration for Blender and Unreal
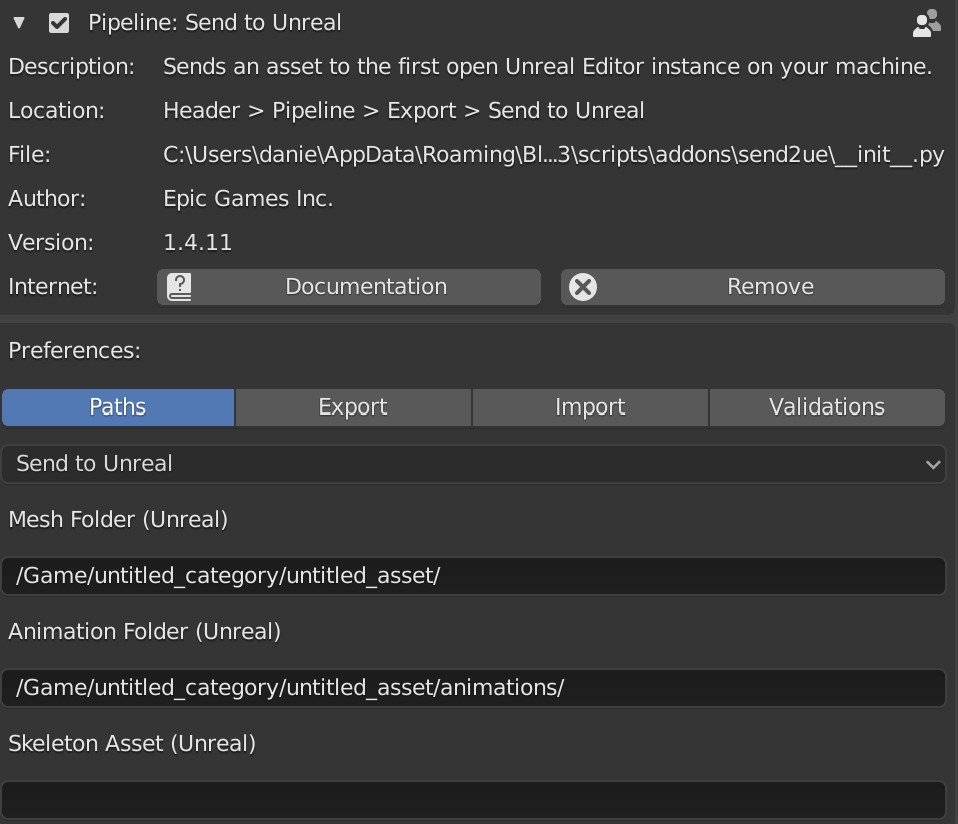
Once the Add-on is installed click the checkbox to activate it. You will notice that a new menu item appears in Blender called Pipeline as well as some new collections appear in your scene. We will discuss these options a bit later. For now, let’s turn our attention to the Add-on’s preferences.
From within the Preferences dialog box for Send to Unreal you will notice four sections Paths, Export, Import and Validations.
The Paths section is used to specify the location of the assets you are exporting from Blender, when they are sent Unreal.
The Export section can be used to set specific FBX settings for the assets being exported.
Use the Import section to control how the asset is imported into Unreal, for example you can choose to automatically launch the Unreal FBX import settings dialog from here.
Validations can be used to halt the export/import process in the event that certain criteria have not been satisfied. For example, if the asset has broken links to missing textures.
Once you have configured Blender to use the Add-on, launch the Unreal Editor and open your project. The following configurations work on a per-project basis and not on the application as a whole.
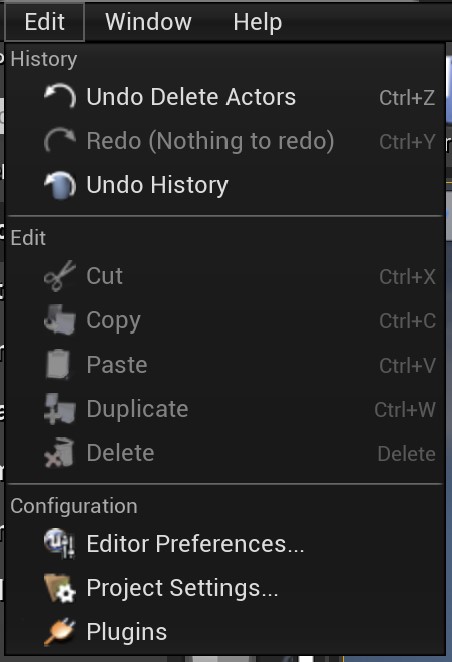
From your projects Edit menu click the Plugins option.
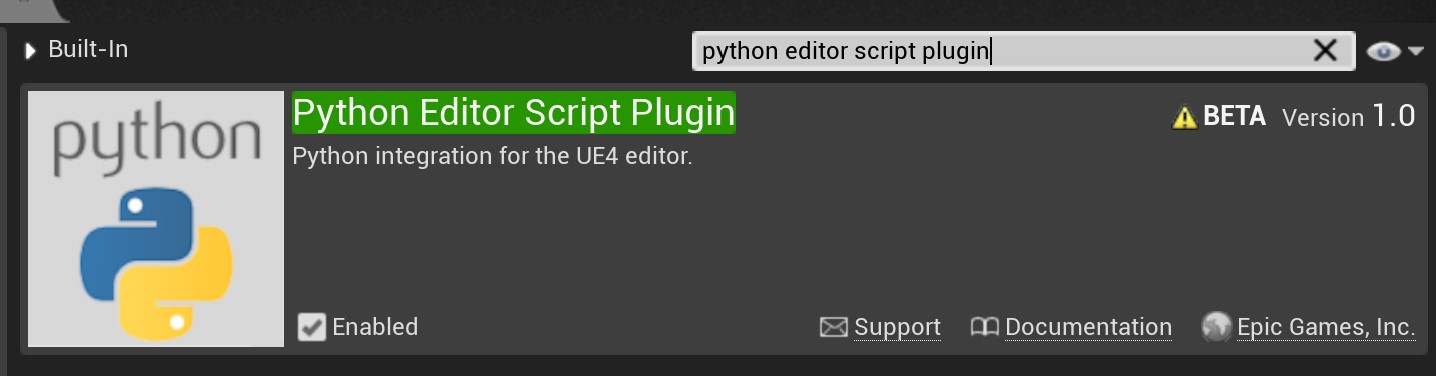
From the Plugins dialogue box search for Python and locate the Python Editor Script Plugin. Click the Enabled field and Unreal will ask you to restart the Editor.
Go ahead and restart the Editor.
Once the Editor has restarted, the new Python plugin will be activated. In order access, certain settings for the plugin go back to the Edit menu and click on the Project Settings option.
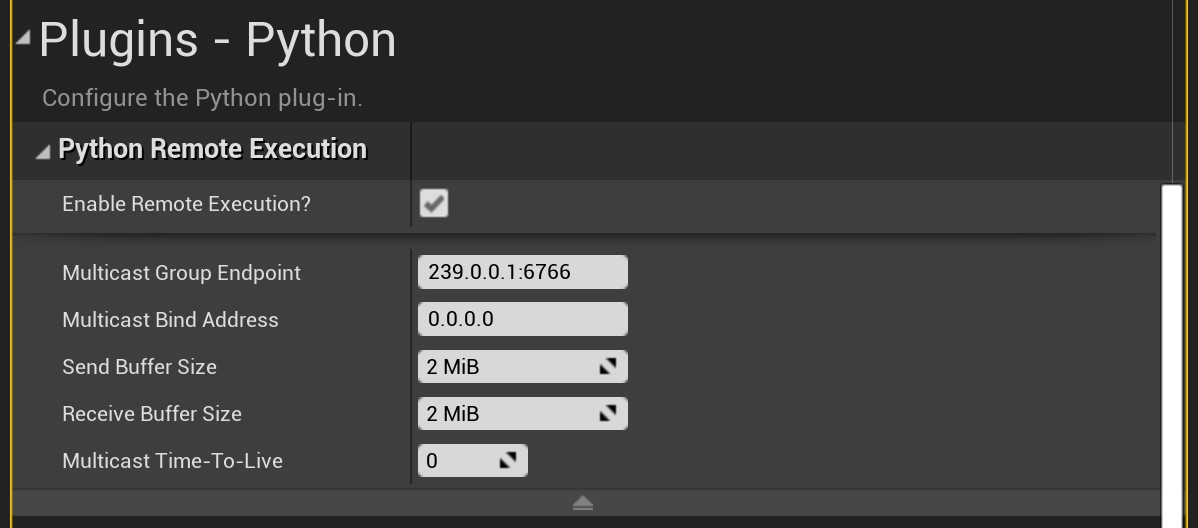
Search for Python Remote Execution and click on the Enable Remote Execution field in order to turn it on.
Live Export/Import
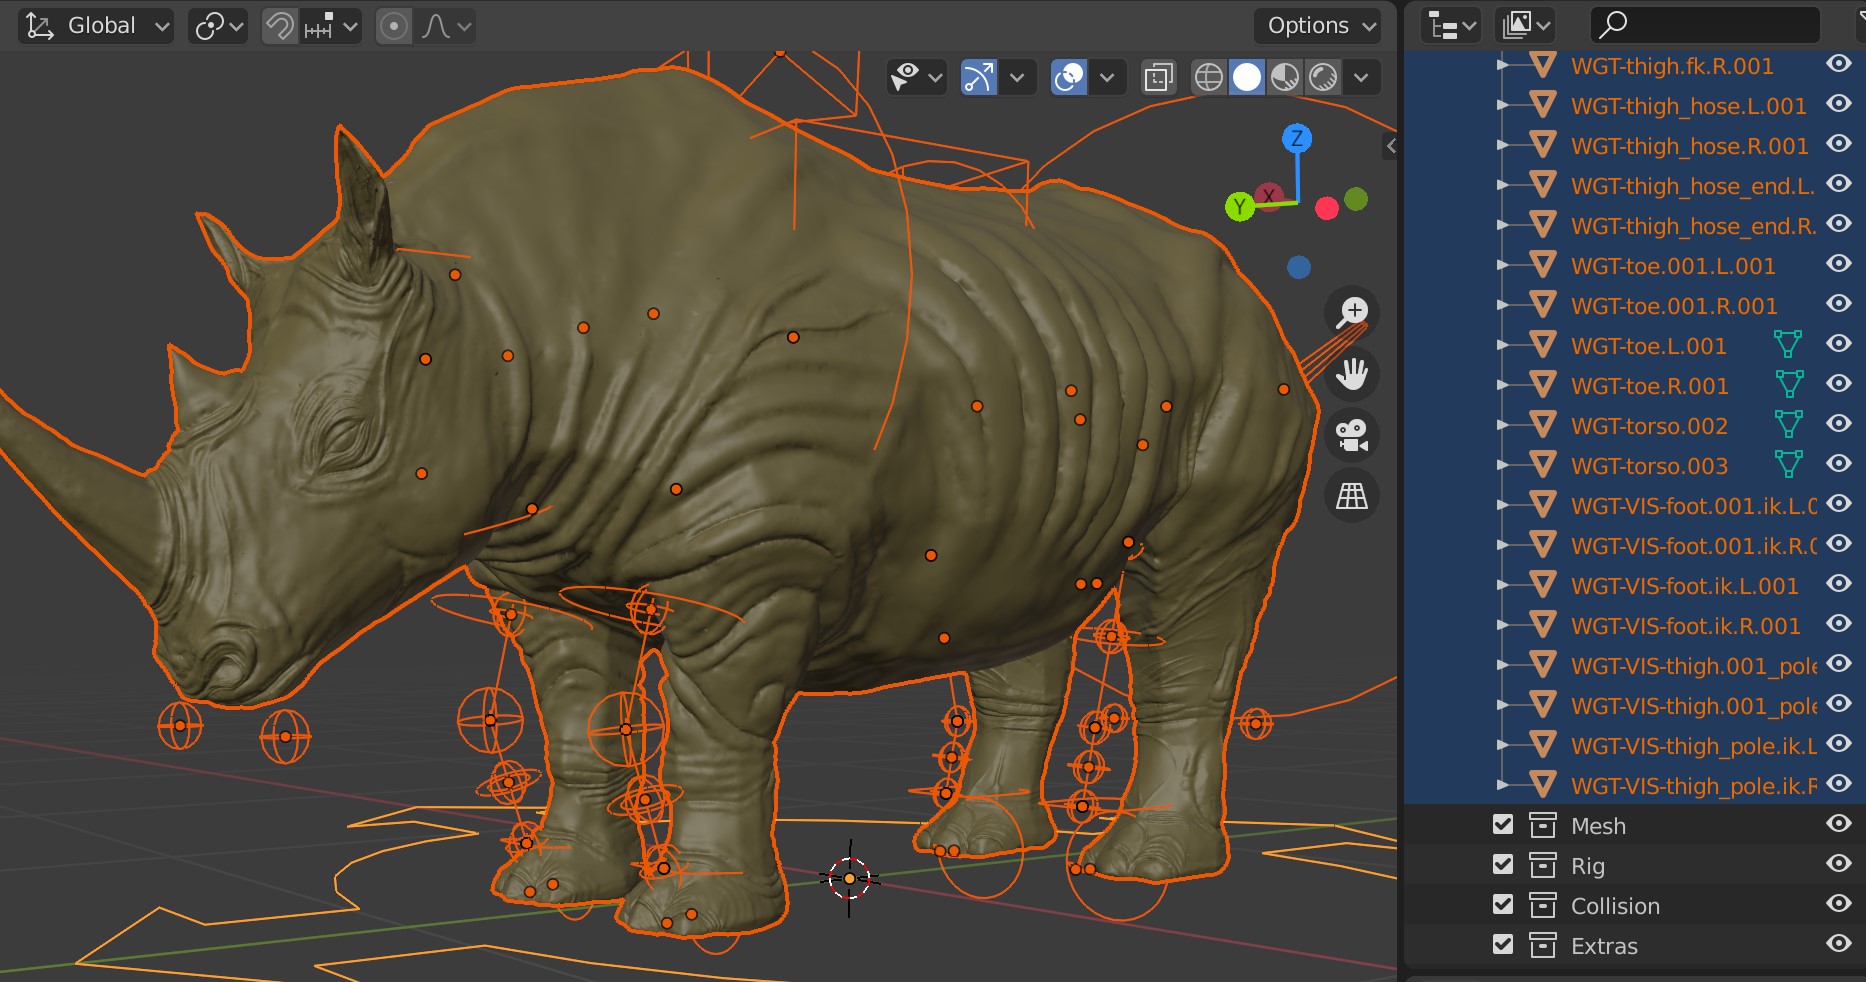
When you installed the Send To Unreal Add-on a new Pipeline menu as well as several new collections were added to your Blender scene.
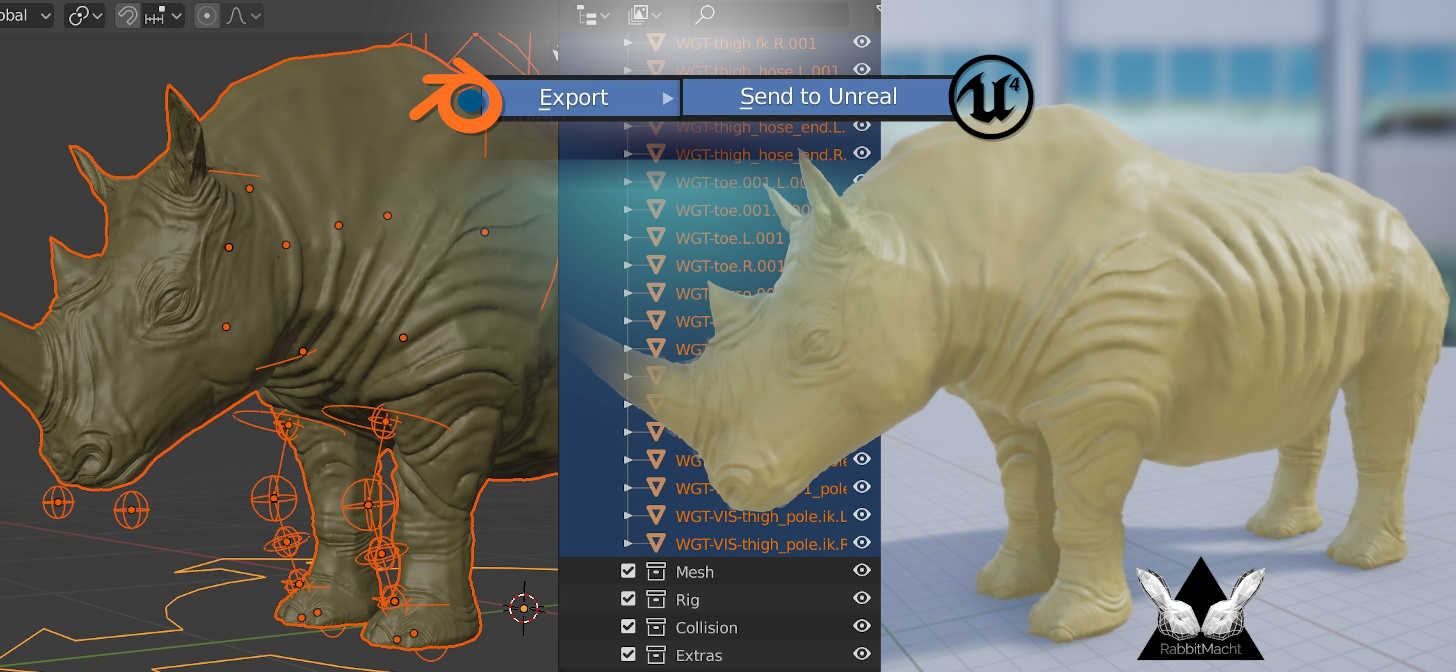
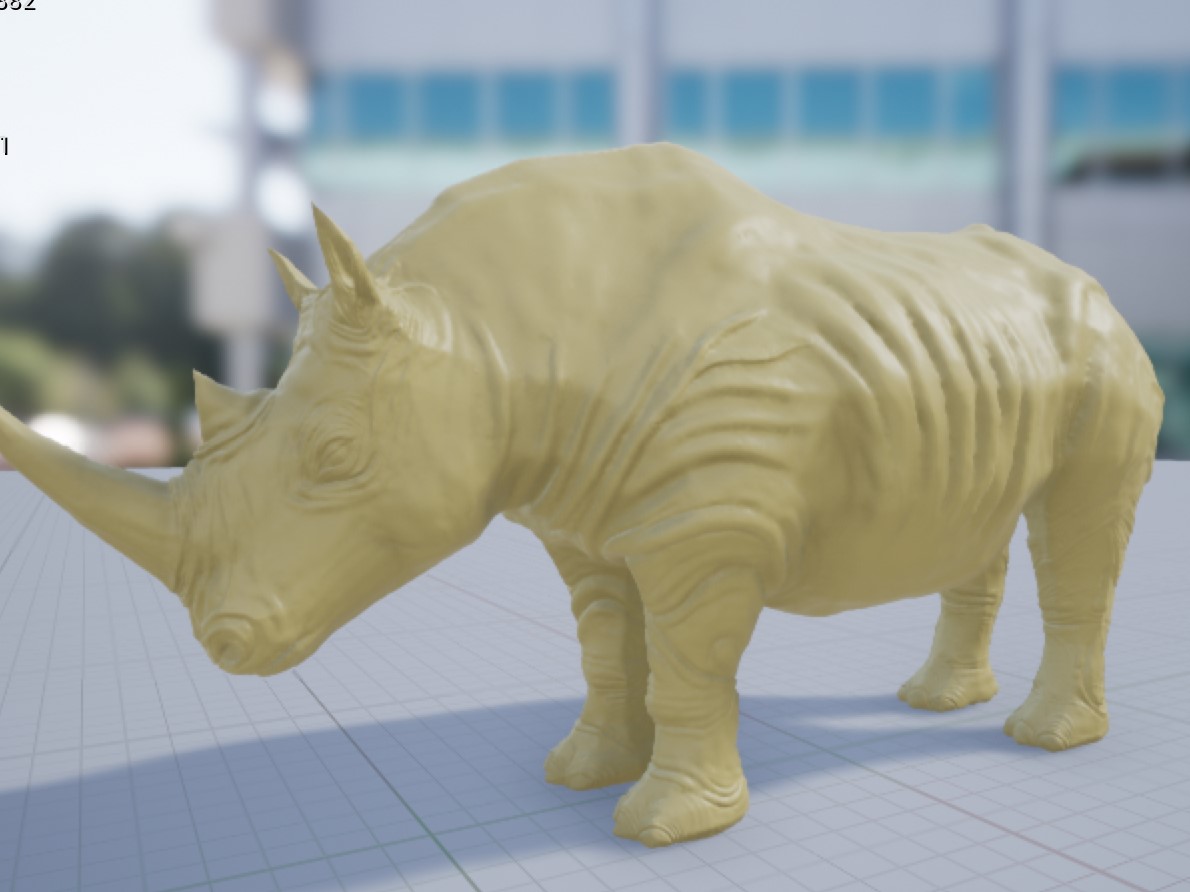
The collections include Mesh, Rig, Collision and Extras. We can use these collections to determine what assets are included in the live workflow between Blender and Unreal by adding the applicable asset to the appropriate collection. For example, we are not interested in the additional widgets and rig within this blend file and only wish to export a static mesh of the rhino.
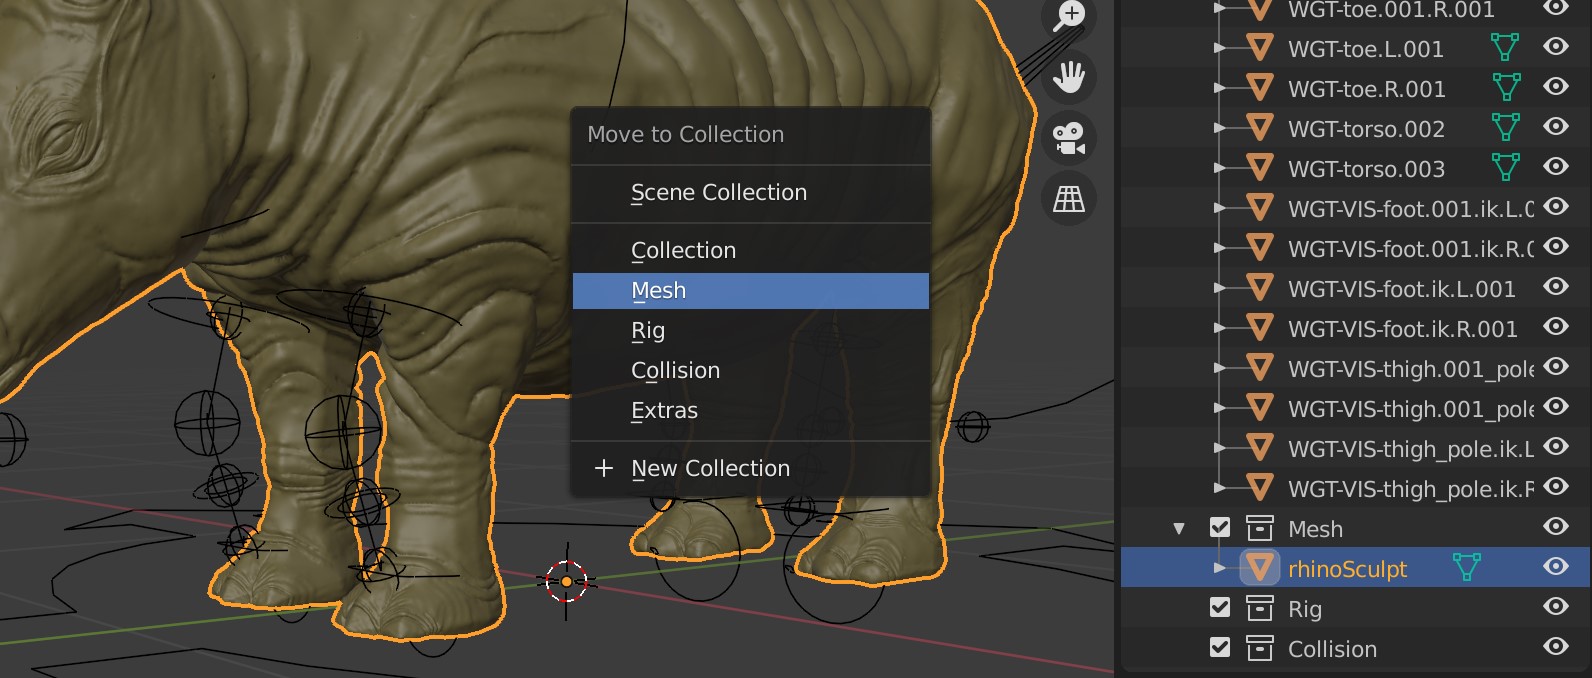
With the rhino mesh selected hit m on the keyboard to move the mesh to a specific collection. As you can expect the Mesh collection is chosen to add static meshes to the live workflow.
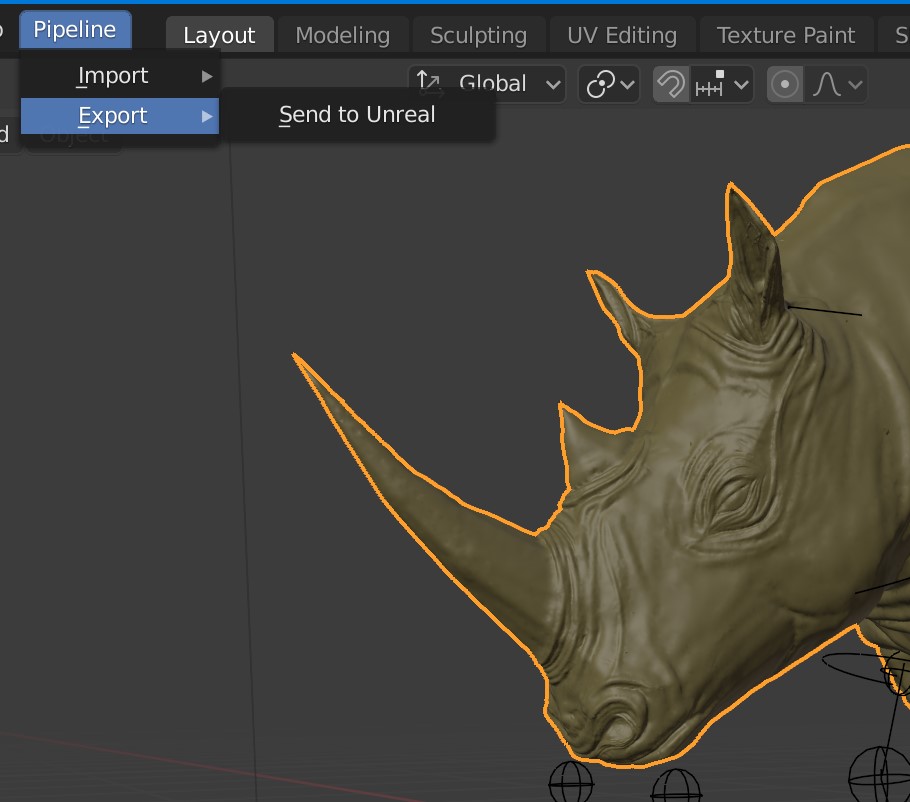
Once your collections are organized you are ready to export your assets to Unreal. From the main Blender menu click the Pipeline menu and choose Export > Send to Unreal
If you have followed the previous steps to configure Blender and Unreal, Blender will look for an Unreal process running in the background. This is with regards to the processes that are being maintained by your operating system. The workflow is the same for both Windows 10 and Ubuntu 20.04. You do not need to configure the Add-on to find the Unreal Editor executable.
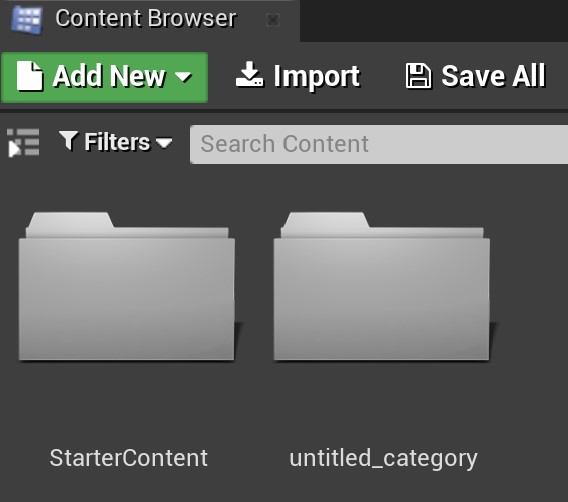
Once exporting has completed from Blender, open the Content Browser in Unreal and navigate the directory structure you determined from the Add-on’s preferences in Blender.
Once you have located your asset, you will then be able to use it like you would any 3D asset in Unreal including turning it into a Blueprint.
- Starting out with Vue : Part 1
 What is a Software Framework A software framework provides a level of abstraction in writing application code relevant to an environment.Although this may sound like a mouthful, it’s quite simple… Read more: Starting out with Vue : Part 1
 - How To Secure Your Site With HTTPS For Free
 Although HTTPS has been a standard web protocol for some time many hosting providers still do not necessarily provide support for enabling it “out-the-box”. In this post, we will dive… Read more: How To Secure Your Site With HTTPS For Free
 - A Super Versatile Minotaur, Rigged And Ready To Rumble
 Lets dive into the details on the Minotaur character that has recently been published by RABBITMACHT. In this post, we are focusing on how you can incorporate The Minotaur 3D… Read more: A Super Versatile Minotaur, Rigged And Ready To Rumble
 - How To Build Game-ready Characters With A Non-destructive Workflow
 When developing 3D characters it’s important to retain as much of a non-destructive workflow as possible. This is particularly important with regards to games development as the models used in… Read more: How To Build Game-ready Characters With A Non-destructive Workflow
 - Immediately Start Selling, with the Starter Store for Curated Merch
 Although 2020 may have been a tough year for many of us, that doesn’t mean we should be down and out about it. Some industries have even experienced growth in… Read more: Immediately Start Selling, with the Starter Store for Curated Merch
the link to sendtounreal produces a 404 error for me – has Epic Games withdrawn the Add-on?
never mind, I just had to confirm the link to Epic Games Github, works fine now!
No Problems, thanks for re-checking Rainer Trummer. Just a reminder, you will get a 404 error if you have not logged into your GitHub account and linked it to the Epic Games account. You can read more about making that connection here https://rabbitmacht.co.za/2020/10/19/how-to-create-and-animate-a-glowing-pickup-with-blender-and-unreal-engine-4/
Hello!
Does this process also work for later version of Blender (currently using 2.93) and with UE5?