
Although HTTPS has been a standard web protocol for some time many hosting providers still do not necessarily provide support for enabling it “out-the-box”.
In this post, we will dive into the details around setting up HTTPS for your website using a completely free set of tools and also discuss some basic concepts around what it is and why it’s so widely utilized.
What is HTTPS SSL/TLS and why would I need it?
While browsing various sites on the internet you may have noticed that your browser throws a warning on occasion about a site not having a secure connection. You might also think twice about continuing to load the site when the warning prompts you to consider that any information you submit on the site (for example through a web form or other means) could be intercepted by an unintended recipient.
Hypertext Transfer Protocol Secure (HTTPS) provides computers or nodes on a network (or many interconnected networks, like the Internet) with a set of rules they can agree on for securely transporting data between requesting and receiving nodes. This is particularly significant in contrast to HTTP, which does not require data in transit to be encrypted.
When a connection is established between receiving and requesting nodes on such a network, only those nodes should have the key to decrypt that data in transit. This essentially means that even if the data you submitted via a webform on an HTTPS site is intercepted by an unintended recipient it will remain encrypted.
Transport Layer Security (TLS) is a common type of encryption used with HTTPS connections. It is also the successor of Secure Sockets Layer (SSL) and most often provides the Secure component with the HTTPS protocol.
What do I need to get started?
In order to secure your site’s connection with HTTPS you will need an SSL/TLS certificate.
These certificates can only be issued by a Certificate Authority (CA) and depending on your needs, CA services can be simple to complex with pricing that scales accordingly.
Let’s Encrypt is a nonprofit, global CA that issues SSL/TLS certificates at no cost in the interests of a more secure and safe Internet.
To get started you will need,
- A hosting plan that allows SSH access. This can usually be accomplished with a standard cPanel installation which many hosting providers supply even if you are using a basic shared hosting package.
- As previously noted, we will be using Let’s Encrypt as a CA in order to obtain a recognised SSL/TLS certificate that will be valid for 90 days.
- We will be using GetSSL to request the certificate and validate ownership of your domain.
- As SSL/TLS certificates will expire we will finally set up a Cron job to auto-renew the certificate.
Setting up remote server access with Secure Shell Protocol (SSH)
Although many hosting providers do offer Terminal access as part of a standard cPanel installation, some do not.
As such, we will look into setting up SSH on your local Linux desktop which will allow you to remotely access the server where your site is being hosted.
In order to setup SSH you will first need to generate private and public keys, that when successfully paired will create a secured remote connection to your site’s server.
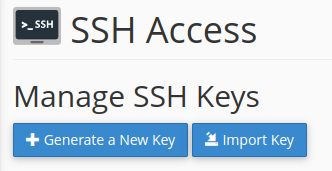
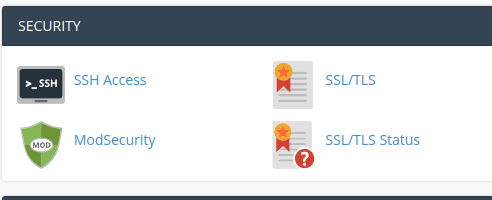
- Under the Security section of cPanel open the SSH Access app and click the Generate a New Key button.
After you have added a password for the keys you will receive a similar output to below.
If when you created the pair you also chose to enter a passphrase, you will also need to take note of this passphrase as it will be required to connect remotely to your site’s server via SSH.
Generating public/private rsa key pair.
Enter passphrase (empty for no passphrase):
Enter same passphrase again:
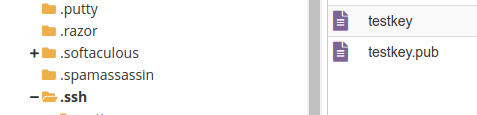
Your identification has been saved in /home/username/.ssh/testkey.
Your public key has been saved in /home/username/.ssh/testkey.pub.Unless you are managing multiple pairs, you would not need to enter a name for the keys as they would be assigned the name id_rsa
From this output, it’s important to note where the identification key has been saved. This is your private key and it should not be shared. In conjunction with the password to your server or cPanel account it can be used to compromise access to your site’s server.
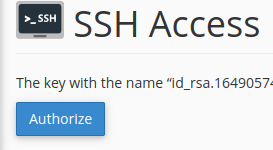
- You will then need to Authorise the use of the public key by accessing its Management tool.
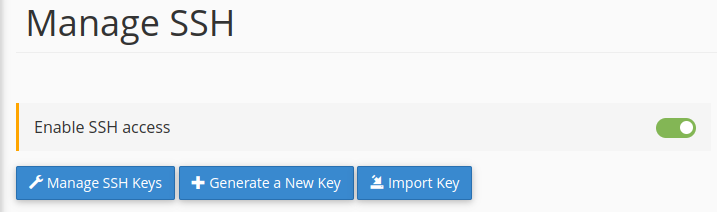
- And if your hosting package requires it, further Enable SSH access.
You will then need to download a copy of your identification key (private key), this can be accomplished with an SFTP client (such as Filezilla) or you could simply use the cPanel File Manager.
- Back on your local desktop, paste a copy of the private key in your equivalent, following location
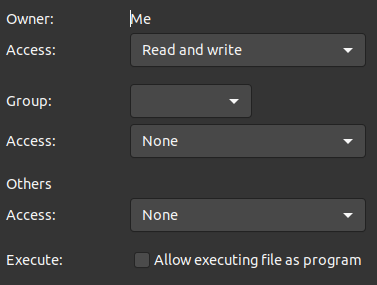
/home/username/.ssh/- You will then need to change permissions for the key such that only you are able to read/write it.
- You can now open a Terminal to connect to your server.
If you are using a shared hosting package you will first need to find out the address of the server that is hosting your site as well as the relevant port number.
In cPanel you can find out the server name, under Server Information in the General Information section. However, this does not necessarily equate to your server’s full address and port number.
Alternatively, you could also use your server’s IP address to establish an SSH connection. With your username, IP address and port number the command would resemble the following format,
ssh username@162.123.0.1 -p12345Where ssh is the command being invoked.
username would be the username used to log into your site’s cPanel account
@ is required to precede the address
162.123.0.1 is an example of what an IP address could look like
and -p precedes the number of the port associated with your site
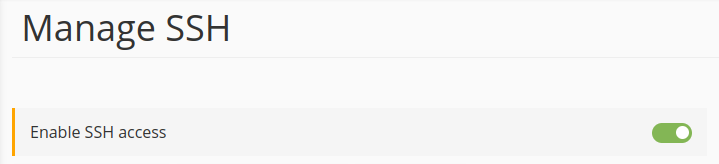
If you are unable to locate the information required under the Manage SSH cPanel app or from your cPanel Server information section, then you may need to contact your hosting provider for further assistance.
- Once you have the required information open a Terminal instance and execute the noted command. If you have SSH installed. it will then try to match the private key on your local desktop with the public key on your side. If there is a match you will be prompted for the passphrase you input when creating the private and public keys (from above).
You will then need to enter your password, this will be the same password associated with the username from the above command, that you use to log into your site’s server (or cPanel).
If you have successfully logged in you will then see that the command prompt has changed to username@servername
Installing and configuring GetSSL
We are now ready to install and configure GetSSL in order to request and install an SSL/TLS certificate from the Let’s Encrypt global CA.
- Run the following command via SSH to obtain a copy of the GetSSL installation script and set its permissions,
curl --silent https://raw.githubusercontent.com/srvrco/getssl/latest/getssl > getssl ; chmod 700 getssl- Use the following command with the create flag to create the default config files, thereafter you will be able to find the applicable files in the same location such as /.getssl/
./getssl -c yourdomain.comWhere yourdomain.com is the domain you would like to install HTTPS for. The below list represents the files and folders now installed.
~/.getssl
~/.getssl/getssl.cfg
~/.getssl/yourdomain.com
~/.getssl/yourdomain.com/getssl.cfg- You will then need to cd into the following directory in order to edit the config file.
It’s also worth noting that there is another config file with the same name that exists at a higher level in the directory structure. If you are setting configs for multiple domains you could use this config file as such, however throughout this guide we are only focusing on the config file within the subfolder /yourdomain.com. All configs, as such, will only apply to this domain.
cd ~/.getssl/yourdomain.com- You will then need to open the getssl.cfg config file within a text editor to modify it. If you have access to vi on Linux you could open it with the following command,
vi ./getssl.cfgOnce in vi you can use h, j, k and l to navigate the editor. Then i to switch to insert mode. ESC to return to navigation mode and :wq to save and quit.
- Navigate to the line where you see the following variable commented out
#ACL- Uncomment out the line by removing the # character and replace the location assigned to ACL with a path where your site’s HTML files are located for example,
ACL=('/home/username/public_html/.well-known/acme-challenge')- You will then need to create the directories /.well-known/acme-challenge/ under the above-noted location on your server.
This is necessary in order to prove that you have ownership of the resource.
If you would like both yourdomain.com and www.yourdomain.com secured.
- Navigate to the line where the SANS variable is defined, uncomment it and assign it as such,
SANS="www.yourdomain.com"No need to include your primary domain here. Save and exit the config file.
- Back in your GetSSL directory via SSH type,
./getssl yourdomain.comThis will verify your ownership of the domain, request certificates then save the certificates and private key with something similar to the following output if all goes well,
Verification completed, obtaining certificate.
Certificate saved in /home/username/.getssl/yourdomain.com/yourdomain.com.crt
Your domain is now successfully staged and ready for the production certificates to be installed.
You can verify if this has been successful as, when you look in the location noted from the previous output you will see the .crt files that were requested during staging.
You will then need to delete these .crt files before proceeding with certificate installation. This is essentially because we need to change the config file and then re-run the getssl script.
As the crt’s already exist and were only just requested, attempting to run this script without deleting the existing crt’s will result in the script halting given that the certificates have not reached an expiry period yet.
- To edit the config file reopen the file that was previously edited,
vi ~/.getssl/yourdomain.com/getssl.cfg- Scroll down the section where the variable CA is initialised and comment out the staging value, then uncomment the assignment to the production location. NB. The # (hash character) is used to denote comments.
# The staging server is best for testing
#CA="https://acme-staging-v02.api.letsencrypt.org"
# This server issues full certificates
CA="https://acme-v02.api.letsencrypt.org"- Save and exit the file as per normal with vi, by typing :wq <Enter>
- You can now run the getSSL script again to request the production-ready certificates.
./getssl yourdomain.comYou should receive a similar output to the first time you ran the script. However, this time you will keep the certificates returned in order to finalise the installation.
Installing the SSL/TLS Certificate
- Back in cPanel go to the SSL/TLS app in the Security section.
- From within this app, you should have access to Manage SSL for your site
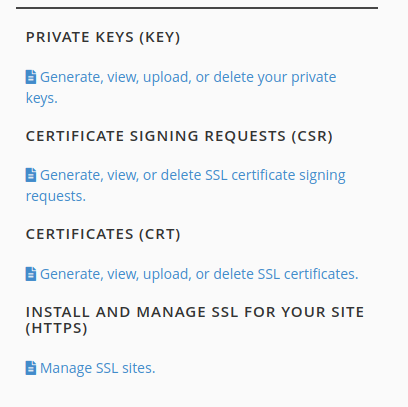
- From here you should have access to the Install SSL Website interface
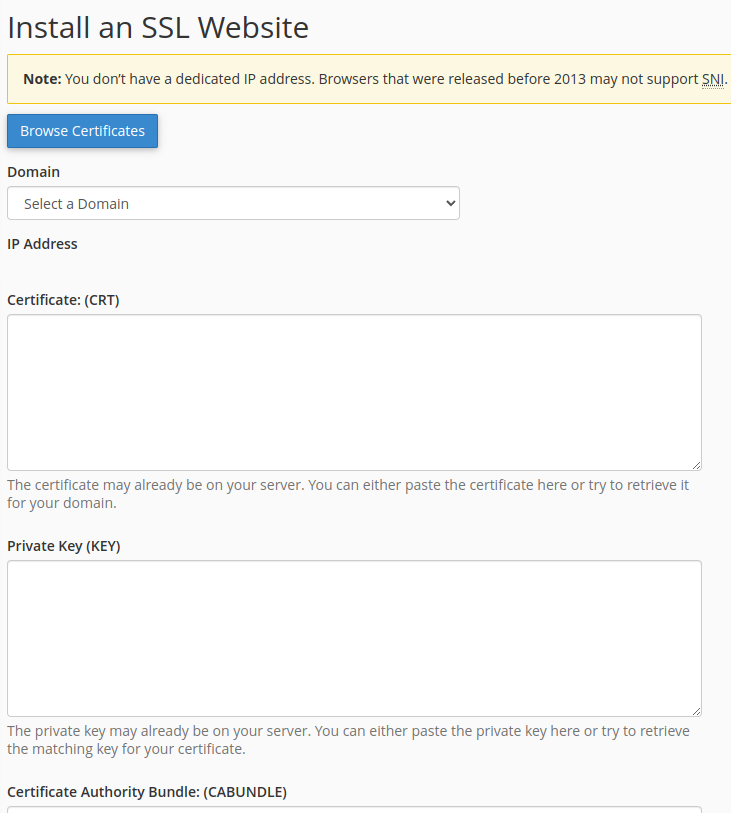
- Select the appropriate domain from the Domain drop-down list, then open copy and paste the contents of the following files generated by getSSL into the following locations,
~/.getssl/yourdomain.com/yourdomain.com.crt
-> Certificate (CRT)

~/.getssl/yourdomain.com/yourdomain.com.key
-> Private Key (KEY)

~/.getssl/yourdomain.com/chain.crt
-> Certificate Authority Bundle (CABUNDLE)- Click on the Install Certificate button, and if all goes well you should now be able to navigate to your site via HTTPS
Auto-renewing your certificate
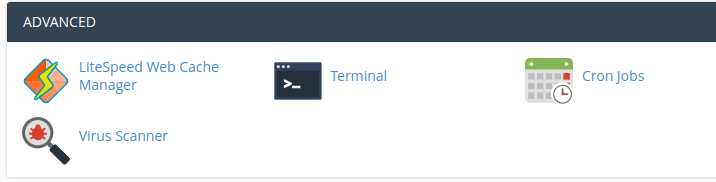
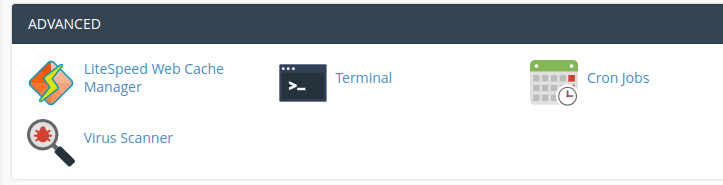
GetSSL has many useful features including the ability to utilise a Cron job to auto-renew certificates that are about to expire. In cPanel under the Advanced section, click the Cron Jobs app to set up a script that is executed according to a schedule.
As noted Cron jobs run according to a schedule and GetSSL returns certificates that will expire after 3 months, therefore you should not need to request a renewed certificate prior to that timeframe.
You can set up your Cron job to run based on your requirements, however from what I have experienced certificates will not renew if they are less than a month old.

The command you could use for your Cron job would require the location of the getSSL script that was fetched via cURL, with the filename and the following flags,
/home/username/./getssl -u -a -qThe -u flag updates getSSL if a newer version exists, the -a flag auto-renews any certificates that are about to expire and the -q flag will only email you if any errors are returning during the job.
Now click the Add New Cron Job button and you should be good to go!