Forward Kinematics (FK) Rigging
If you have been following the other posts on the Minotaur you might have noticed that this is not the first post that mentions rigging. In fact, the very first post for the Minotaur “Minotaur” mentions rigging and another post on Skinning “Minotaur XI” also mentions rigging. As you can imagine rigging is not essentially reserved for the purposes of animating a character however it is primarily used to fulfil that purpose.
- In the first post on the Minotaur, a rig was used to pose large portions of the model by deforming the mesh in such a way as to avoid geometry intersecting itself, ultimately this rig was used as a tool for modelling.
- In the post on skinning, a rig was used to pose the final version of the modelled character for a wide action shot. A rig like this is not suitable for animation and is intentionally kept simple as once the character is in the desired pose, the deformation is baked into the geometry and the rig is discarded.
Deformations that usually would be done with weight painting (and would be visible for that particular pose) can then be added with lattice deformers, sculpting and modelling tools.
In the following posts, we will be discussing creating a Forward Kinematics (FK) Rig, a Controller Rig and skinning the Minotaur to the FK rig all for the purpose of creating animations.
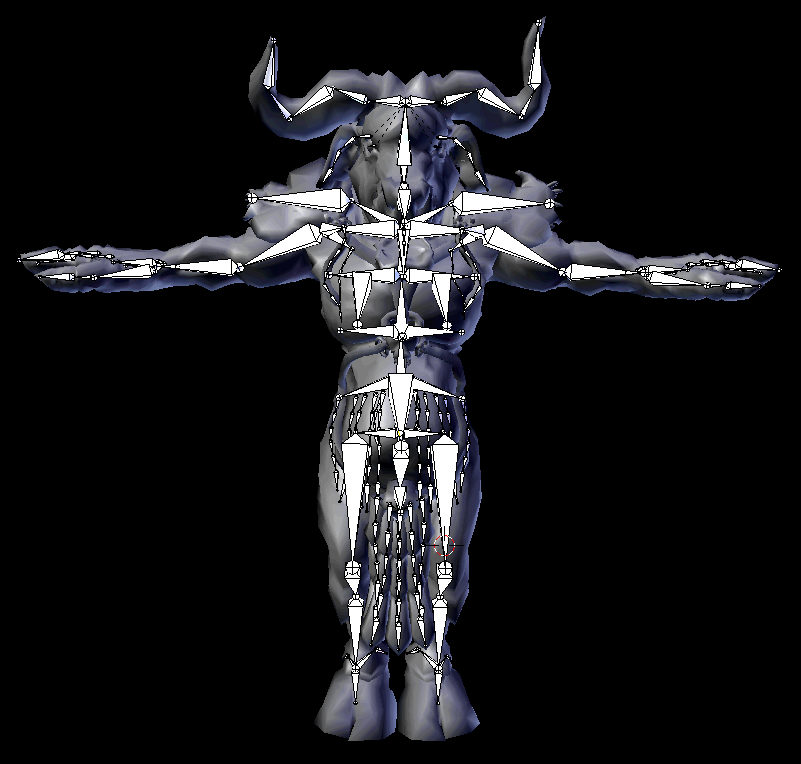
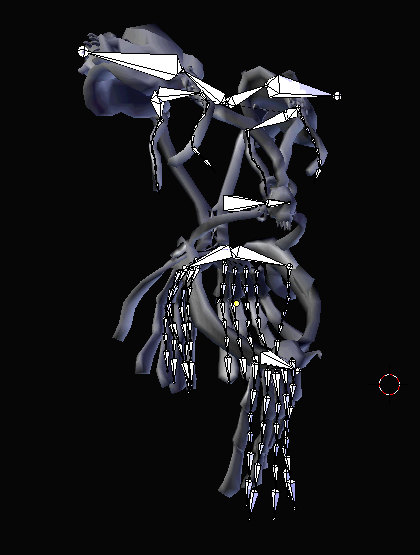
The above video demonstrates the Minotaur attached to an FK rig and posed for a turntable. The render is of the realtime model (<7k polys) as it is seen from the 3D viewport, and has incomplete textures.
One of the most important technical qualities of a character that needs to be set up for animation is to have multiple levels of detail of which at least one of the mid to low levels provides a close to final output representation of the character’s deformed geometry while still maintaining realtime playback in the 3D viewport.
Relying on non-realtime rendered viewport previews (also known as Playblasts) can hinder the process of creating animations significantly, and maintaining a responsive 3D environment in which you create your animations is crucial.
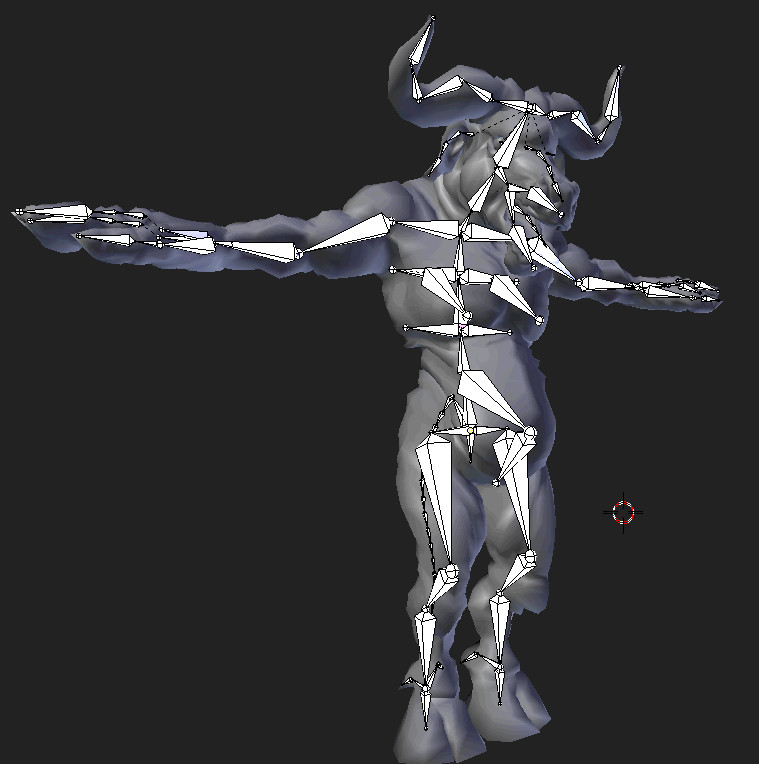
The above video is a demonstration of the Minotaur moving from one pose to another driven by an FK rig while scrubbing the playback head in Blender. Note the character’s realtime responsiveness to the timeline (at the bottom of the frame) as the mouse moves back and forth. This is true even in an older version of Blender.
When the Minotaur was bound to its armature which comprised solely of an FK rig almost every bone in the rig was enabled for deformation. The controller rig is then built on top of the FK rig once weight painting has reached a reasonable representation of what the finished product will look like.
As mentioned the FK rig is then posed in various ways to test how the mesh deforms, it is in these poses that weight painting occurs. Typically, it should not be necessary to paint weights on a character in its default/bind pose.
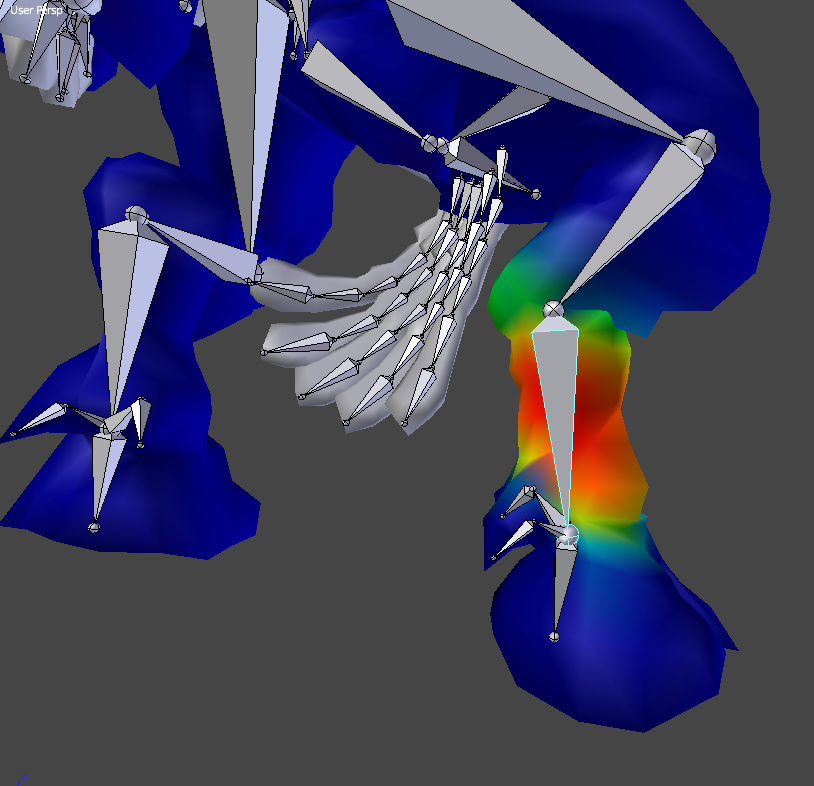
Although the term weight painting implies a superficial task that is related to the surface of the mesh, I prefer to think of weight painting as an extension of the modelling process. It is true that weight painting is performed only on the surface or “skin” of the mesh but the objective of the task is to modify the volume of the skin, muscle tissue, flesh etc that is affected by the bones that are rotated to create that deformation. As a result, we are simulating the deformation of a volume by means of a tool that addresses the surface of the model. This effectively results in displacing vertices by moving them towards or away from the area of deformation.
In Blender, we paint vertices as red if we would like them to be more affected by a bone’s deformation, in Maya we would paint them as white. Regardless of what software you use the principle remains the same, we are effectively modelling what we would like the areas surrounding the armature’s/skeleton’s joints to look like when those bones are rotated into a position other than their rest positions. We do this so that we can ensure that every time the bone is rotated into a particular position that the volume of geometry surrounding that bone and its joints will fold, wrinkle and deform the same way each time.
This character has two layers of FK bones, one used to deform the Minotaur and another used to deform
the Minotaur’s armour.
A rig like this is far too complex and cumbersome to animate with the simple rotations and a single translatable parent that FK would allow for, so in order to make the animation process more intuitive, a controller rig will be created for the FK rig.
The controller rig, as the name implies, is responsible for providing the controls used to transform the rotations of the FK rig. Sometimes the FK rig might be referred to as the base rig as it will be the most low-level rig and ultimately the tool that provides the link between the animation system and the rendered character.
One fundamental difference between the base rig and controller rig is that the controller rig will primarily be used for the purposes of creating translation transforms, often by means of Inverse kinematics (IK). This is in contrast to the base rig which will generate rotation transforms, primarily. The combination of these transforms result in the keyframe data that eventually make the character animated.
Another level of complexity making up this character’s rig will be that of a third rig for the purposes of dynamic secondary animation. However, this is something that will be addressed at a later stage.