Texturing
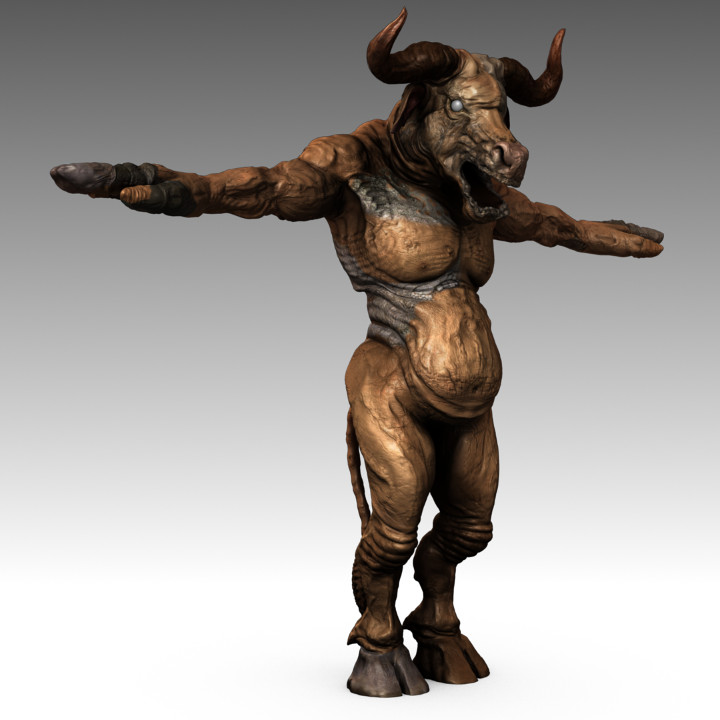
The Minotaur consists of several textures and materials that are composited together, this render depicts the current painting status of the Minotaur’s color texture channel.
This above image took approximately 6 minutes to render using the Blender Internal (BI) Renderer. This includes 3 Sub-Surface Scattering (SSS) passes (each with its own material), a color map, a normal map, and 28K polys subdivided 3 times at render-time. Although there is still a lot of work that needs to be addressed, particularly regarding the specularity/ reflections pass and completion of texture painting for color and normal maps, I find the render times and quality from BI to be very reasonable and certainly something I am pleased to work with.
Materials and SSS Considerations
The main reason for having multiple materials composited for the Minotaur is so that three layers of Sub-Surface Scattering (SSS) can be addressed independently. These layers represent the epidermal skin layer, the subdermal skin layer, and the backscattering layer.
- The Epidermal skin layer is the outermost layer of skin and as such will tend to be the layer that most prominently shows the current texture map that is being painted in the previous rendering.
- The Subdermal layer is used to represent the fatty tissue that exists under the epidermal layer. Its texture map will differentiate most significantly in that it will also include the color of the Minotaur’s veins. The material’s primary function is to create the impression of the character having volume, as opposed to appearing like an empty shell.
- The Back Scatter layer is the SSS layer that is most discernible as it adds a reddish tinge simulating blood vessels within the Minotaur’s body. This will be particularly noticeable in areas where the Minotaur’s volume is significantly less so that it is easier for light to pass through it, such as in his ears.
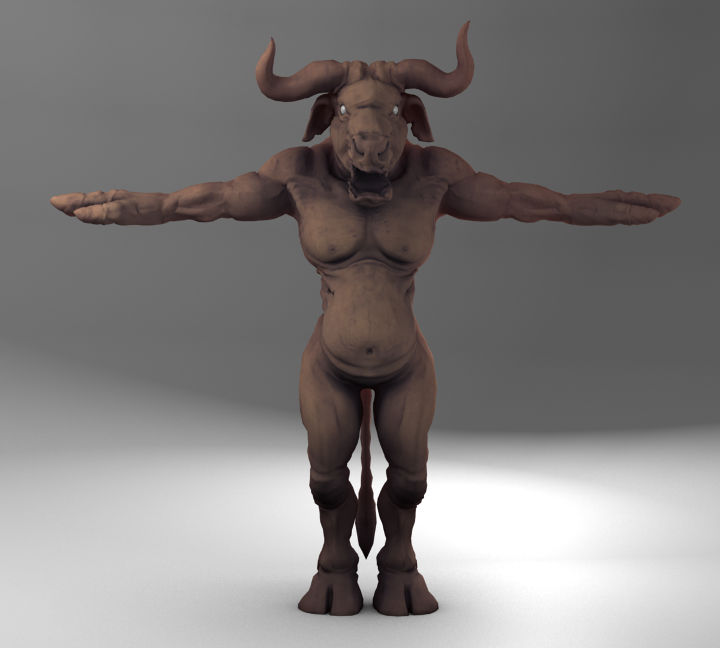
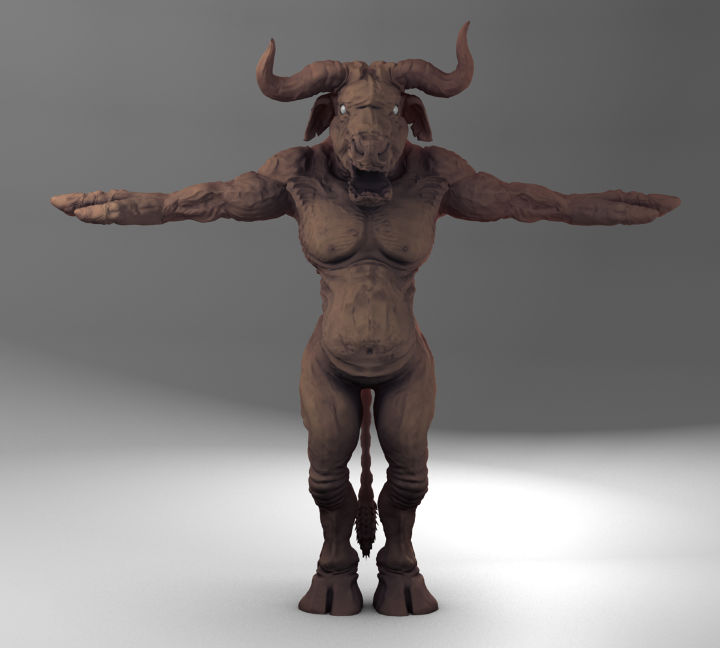
The following two images demonstrate the three materials composited together, with SSS properties. The first image is of a low resolution render followed by the same material and lighting setup on a high-resolution model.


As you can see the SSS material properties affect the renderings with significant differences based on the mesh density. This is yet another benefit of using actual geometry displacement, and not relying on normal or bump textures for surface variation (as would be the case in the first of the two renderings).
Fortunately, rendering high-density geometry that is subdivided at render time (see Minotaur XI Skinning post for more details regarding setup) is a feasible option in Blender.


Multiple UV Layouts
As I mentioned in a previous post this character will require multiple UV layouts so that more texture space can be allocated to certain areas of the model that will be featured in some close-up shots.
One of the downsides of multiple UV layouts at this stage is having to re-bake the character’s normals with the new UV layout. Although this is not a problem for me as I save my working files incrementally, it does mean having to revisit previously saved files which some people might find to be problematic (depending on your file saving habits). As the character’s UV’s are adequately laid out, I will only need to add one additional UV layout.
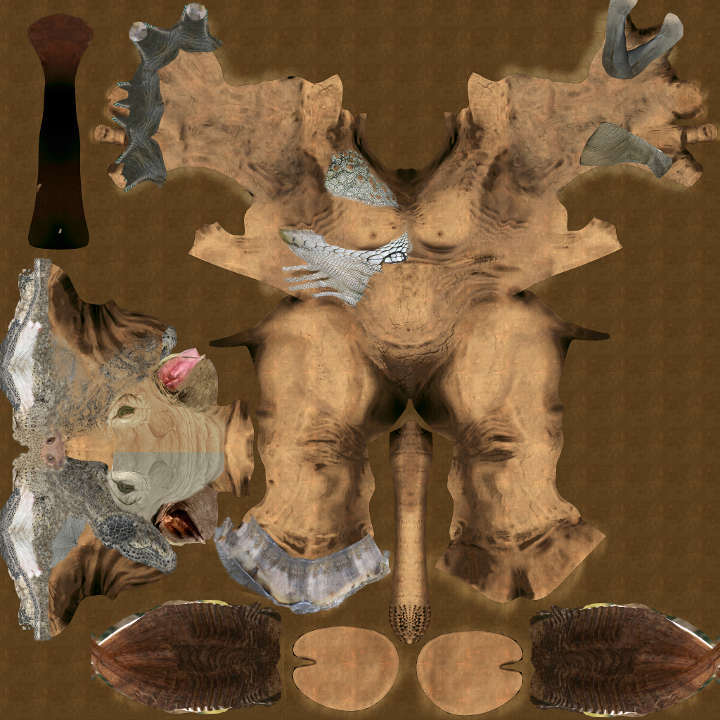
The following image shows my current progress with the color texture channel. As you can see I prefer to work on one side of the character as I lay down a base for the details that follow, then mirror and modify this base in an image editor before painting more detail and variation in the texture. I use composites of photographs laid down in an image editor (the GIMP in this case) then export the image as a PNG and paint over it with the clone and paint texture tools in Blender.
This texture is approximately 10% completed in this image. I hope to have more posts of this map as it develops.
