Optimization Testing
Synopsis
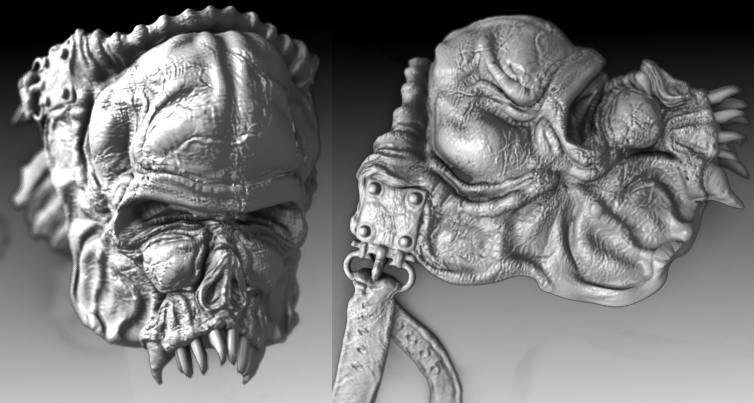
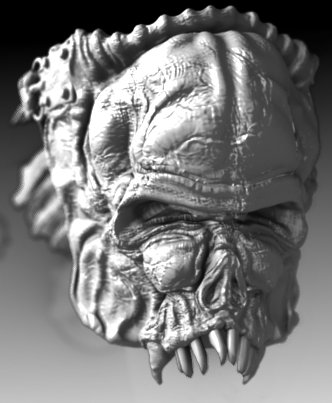
The model and armor take about 4.5min/fr to render. Using the rendering technique outlined in my previous post on skinning (“Minotaur XI”) the Minotaur in this animation is subdivided 3 times at render- time, then targeted to a high resolution sculpt which was baked at level 03 to displace the subdivided geometry (see “Minotaur XI: Proxy Model Setup” for details). The high-res sculpt is saved externally and linked to the current render file, this reduces the file size for this particular character from approximately 0.5GB to 100MB. Smaller file sizes help clear up unnecessary RAM usage, which has been reduced from 8GB (RAM) + 3.5GB (Swap Space) to current usage of 4.1GB at render time and 2.1GB when loaded (Blender startup uses about 1.3GB of RAM for this setup). This reduction in RAM usage accounts for the reduced render time which was previously 30min/frame to the current time of 4.5min/frame. This makes a vast difference in pre-rendered animation when you consider that approximately 25 frames are required to account for only a second of animation.
Testing Criteria
Only Two separate passes of 1) character and 2) armor was used in this render. No texture maps have been completed yet, as this render is mainly used to gather data on three main categories:
- How geometry is being displaced at render-time over the entire mesh
- How normal mapping affects the displaced geometry
- And render timings on optimized models.
Armour Geometry Targeting Displacement and Normal Mapping
Several basic renders were also created testing the same criteria in the armor, the results follow.
The preceding image is of the Minotaur’s right shoulder guard. The lighting is particularly “unflattering” in these images as certain areas of the geometry are highlighted for consideration. Any areas that indicate stretching of the normal map will need to be addressed with multiple UV layouts, but this will likely only be addressed at a much later stage when the camera has been locked down for the final shots.
The following image is a shot of the right shoulder guard from the back of the character. It’s evident from this test that geometry displacement did not recess the polygons comprising the holes in the strap adequately, as was the case in the sculpt data. Custom transparency maps will need to be used to compensate for this lack of displacement on the character’s armor straps.

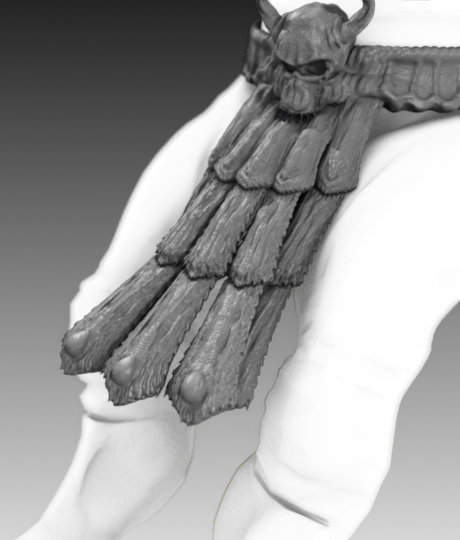
The preceding image is of the lower body area with the toga armour between the legs. The sculpt data on this geometry was exceptionally high and as a result, is a serious consideration with regards to detail loss during optimization. However, the geometry displaced considerably well when the Simple algorithm for calculating subdivisions was chosen (as opposed to the standard Catmull-Clark method). Subsequently, the toga armor straps only required a single level of subdivision (the lowest for all the characters components). The Toga is also planned to be a hairy surface in the final render, so a large amount of detail would have been wasted with more subdivisions.