Sculpting
I generally lay out UV’s before sculpting commences…
This may not be an ideal solution in some cases as vertex translation of the base mesh could occur, when the higher level sculpt data is propagated to the base level.
In other words there is always the risk that high level sculpting could inadvertently modify the basic form of the character. If you have a texture map applied using the current UV layout, stretching will occur, as a result of vertices being translated to match the new form changes from snapping vertices on the base mesh to the higher level sculpt.
However, I won’t apply a texture map to the model until the sculpt can be applied to the base level mesh, in order to avoid this side-effect. So why not just do the UV layout after sculpting is done, and you’re ready for texturing?
Well you could, but I prefer having an idea of what my UV layout will look like before completing the sculpt, I can then bake out normal map tests while sculpting. This gives me a clear indication of whether my UV’s are spaced out enough to provide adequate room for sculpt details at a reasonable texture size.
My UV’s can then accordingly be tweaked again before arriving at a final layout.
System stability is also a big issue for me.
Sometimes the systems I use to create models have a limited amount of RAM which could be as low as 8GB. Although this might be adequate in many circumstances, it will require that I adopt a different approach for the level of skin detail that is needed with this model. Basically, it will mean having to cut the model up into smaller components or “dice” the model in order to sculpt micro-level details and maintain a workable, interactive 3D environment.
Typically, this might mean having to separate the head, the torso, lower body etc all into separate files but I don’t like doing this because it could result in hard edges in areas where the components of the model would have been separated. Instead I keep the model unified and use the system’s resources for rendering the model in the realtime, openGL viewport, which is particularly important for sculpting. In this case performance might be compromised at the highest multi-resolution (or subdivision) level, in which case this can be counter-acted by hiding enormous amounts of geometry and concentrating only on small portions of the mesh. Of course, this is the purpose of the highest subdivision level, to create micro-level details so there is no problem with hiding two thirds of a model, thereby reducing the viewport vertex count from 100’s of millions to 1 million or less. This hiding (or masking) re-establishes realtime viewport interaction.
You might be aware that in order for such a high level mesh to be usable it will need to be baked to produce a normal map. However, normal map baking is a product of rendering and rendering requires additional RAM. The Minotaur at it’s highest subdivision level is using about 2GB to 3GB of total RAM (depending on OS configuration) to open and display the file, rendering the model in this state is not an option as the amount of RAM required will increase by three to four times that amount. Which would exceed the available 8GB of RAM on the current system, at which point Swap space (or virtual memory) will be used. This will make the system unstable as other software and services try to compete for available resources.
Keeping your 3D program’s RAM usage below 50% of your total system’s RAM, and not exceeding this
will provide a much more stable environment, where crashing during a rendering and wasting time in the
process can be avoided.
- With the models UV’s laid out, I am free to jump back into edit mode once all highest level sculpting is completed.
- In edit mode I can delete entire portions of the model such as everything but the head, return to object mode and render a normal map for the head without compromising system stability as the amount of object data has been substantially reduced by dicing.
- Since the UV’s are already in place I can repeat this process for the other model components, arms, legs, torso etc until I have several high resolution maps with the model’s components already in their correct positions.
- As long as all the maps are rendered with the same image aspect ratio and pixel aspect ratio, the files can easily be imported into a single multi-layer document and exported as a single high resolution normal map, that retains the model’s micro-level details and can then be applied to the original model which can then be collapsed to the base for furthering production.
As you can see using this method the model’s vertex order is retained, no additional vertices are added or merged (which would have subsequently modified the UV layout) and you have the benefit of working in a stable 3D environment.
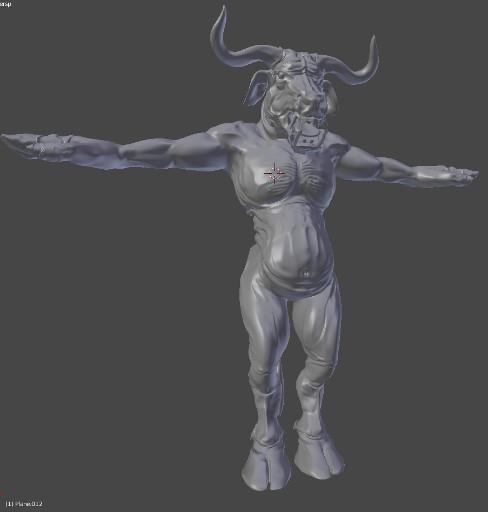
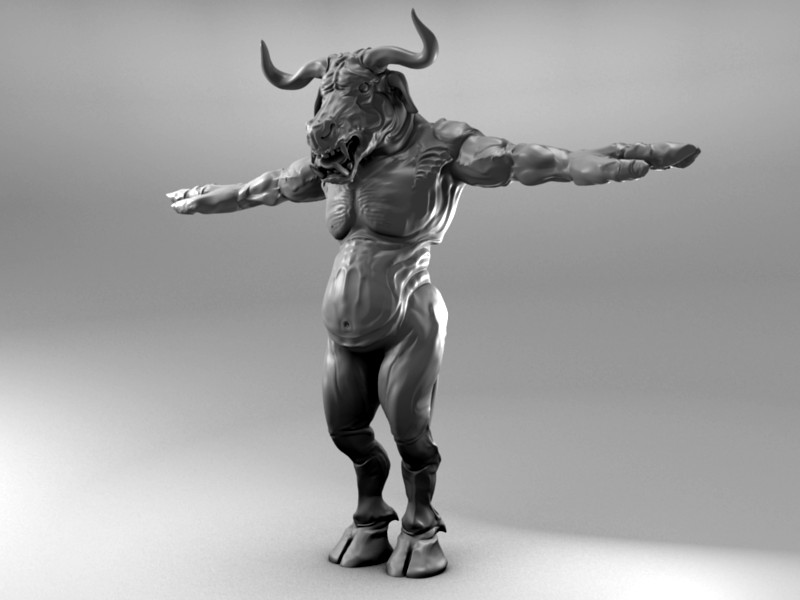
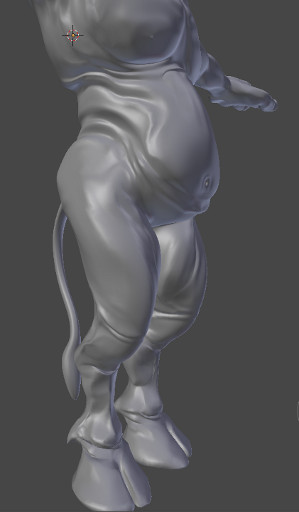
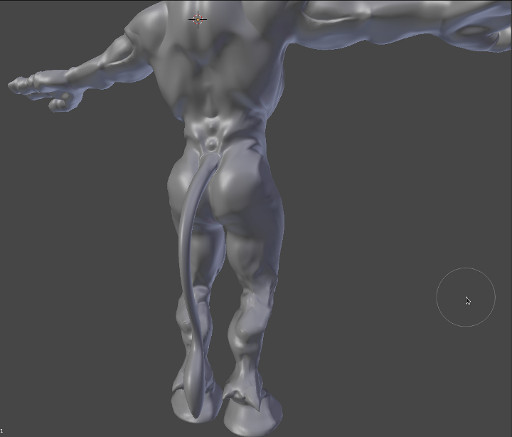
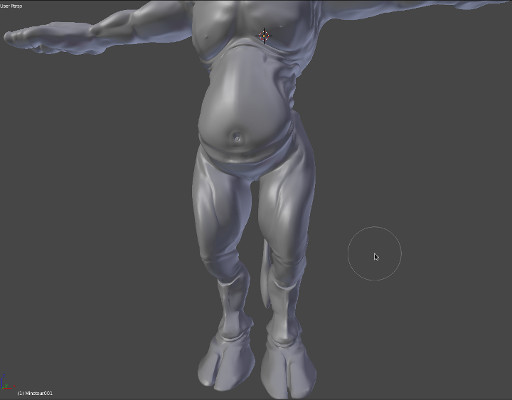
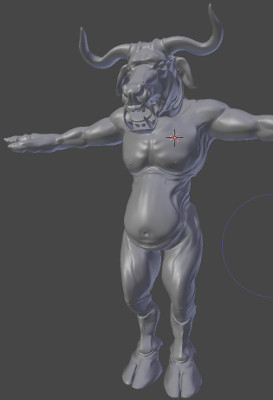
The final image is the start of the current highest level sculpt, as you can see veins are starting to occur at this level, and so to are pores which will only become clearer in later renders.