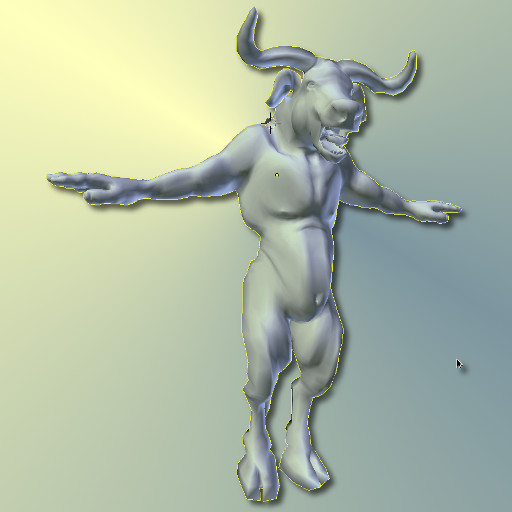
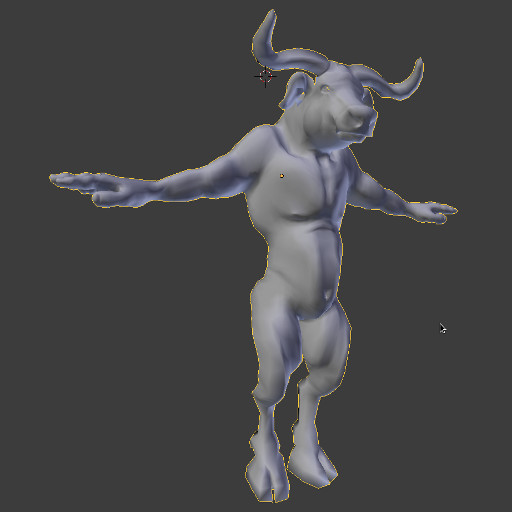
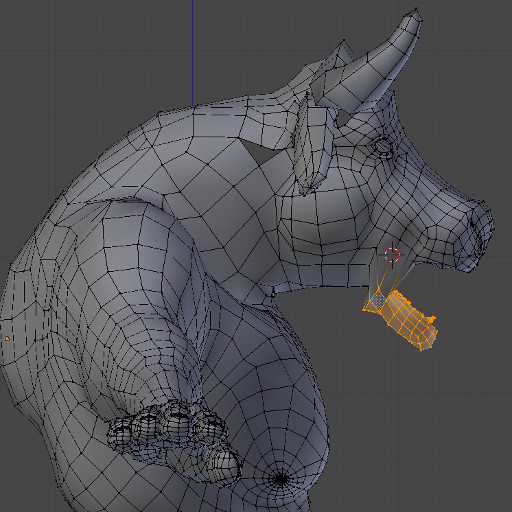
More Form Improvements
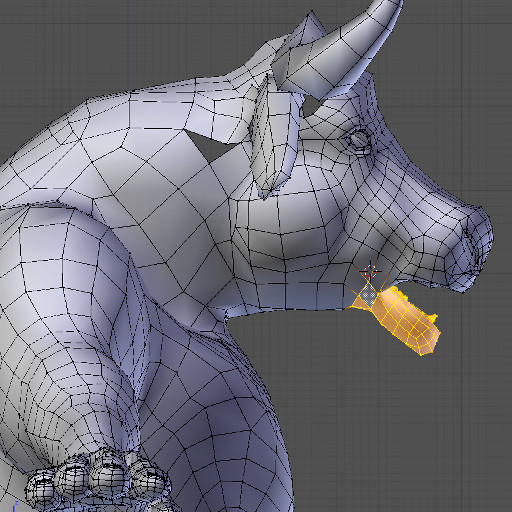
In the following image I’ve started work on the mouth area. As this character will have a full set of grossly enlarged canines (the Minotaur is after all a devourer of the sons and daughters of Crete), his mouth needs to be modelled in the open position. The previous cow model (from which this minotaur’s head originated) also had a full set of teeth with an interior buckle cavity. However that model was not modelled using the same technique as the Minotaur. The main difference between the techniques is that the cow did not need to have the area surrounding the mouth, including the cheeks, jaw and orbicularis occuli (area surrounding the eye) emphatically stressed. In other words a cow would not open it’s mouth too wide in fact cows can only open their mouths marginally in a vertical direction, the majority of a cows jaw movements are sideways. The Minotaur on the other hand would need to open it’s mouth considerably wider in the vertical direction in order to bear it’s teeth (for intimidation) and also to be able to get a decent grip on it’s prey!
This kind of mouth movement would, over time, cause the area’s mentioned above to become stressed and more pronounced than in that of it’s cow-like brethren. As a result more detail is necessary in the geometry that comprises these areas. It’s therefore best to model the mouth in the stressed position and use a rig to close it, then make improvements to the model’s mouth area in the closed position. The cow’s mouth area was created in the opposite way. The default position/rest was closed and a rig was used to open the mouth and improve the model’s mouth area in the open position (which is less significant for a cow).
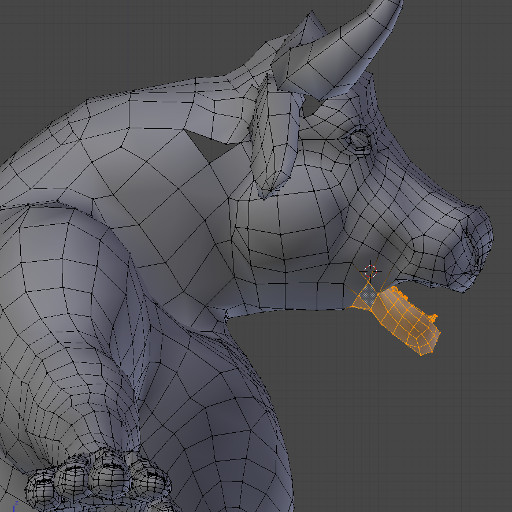
You’ll also notice that because the topology of the model needs to be changed in order to add the necessary detail for the mouth area, I’ve also started improving the edge loops in the surrounding areas which will eventually connect to the areas effecting the mouth. This allows me to start thinking about how I’m going to close the edge loops in the most natural way, in other words when the model is deformed by a rig where do I want the skin to fold, crease, stretch etc.
The model’s edge loops form the basis of how the above mentioned deformations appear and in whole
contribute to what many people refer to as the model’s “topology”. Which is a generic term that is used
to describe attributes of all edge loops comprising a model. It’s also worth noting that although the term is often used to describe geometric characteristics of many different types of models it can become a little ambiguous when it is used in the context of a model that deforms to create non-manifold geometry (or geometry with it’s edges not contiguous or connected to other edges). This could simply mean disconnecting the edge of a polygon during the modelling process or any deformation that effectively results in the tearing of a mesh (the physical disconnection of edges, not simply just the appearance of the mesh “tearing”). Although I try to avoid this it is not always practical, particularly when dealing with
edges that will never be seen such as inside the eye sockets and the end of the esophagus. In these cases it might be a preferable solution to leave the edges non-manifold as opposed to increasing the polygon count so as to have a model comprising of perfectly contiguous edges. This is for most 3D artists a personal preference, of which I usually opt for the former, as I prefer keeping my poly count as low as possible. As a result in these posts referring to the model’s topology relates to attributes of the model’s edge loops that are contiguous and not to those edges that will not deform and remain as non-manifold geometry.
Really pushing the mouth to an extreme pose, is better than a neutral position for the rest pose in this
case.