An Introduction To 3D with Lyndon Daniels
Table of Contents
An Introduction To 3D with Lyndon Daniels
Part 4: Understanding UV’s
Texturing
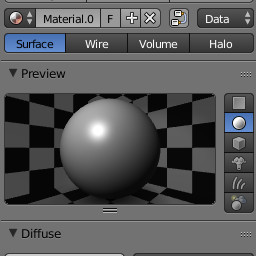
 By default many 3D applications will create a material, shader or shading group when a renderable object is added to the scene. This new shader will then be applied to the 3D object in order to make it renderable.
 Shading groups can consist of several shader types such as a surface material, a volume material and a displacement material. The shading type we are most interested in is the surface material which is also known as the Diffuse materials in some 3D applications. There are many different types of surface materials, which are simply a combination of attributes that tell your 3D application what the geometry looks like when light hits and bounces of the object’s surface during rendering. This will result in a surface that, for example, might look like plastic, metal or skin.
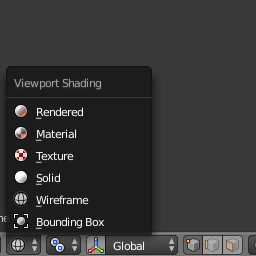
iYour object’s surface shader will not be visible in the viewport while it is rendering in wireframe mode. As a result many high-end 3D applications have the ability to display certain material properties in the realtime 3D viewport when a shaded viewport display setting is chosen.
 Once you have your shader assigned to your 3D model you are ready to add a texture to the surface.
 A texture will generally comprise of a bitmap image such as a JPG, PNG, TGA, TIF etc. These can be created using 2D image manipulation software and some 3D applications permit texture map creation natively.
The laying out of your models UV’s are particularly important when utalizing bitmap textures. As you can imagine, the coorinates of certain areas of the texture projected into your model will be derived from the placement of the UV shells (residing on a flat 2D plane) within your 3D application’s UV texture editor.